Basic steps to link Webjive to a real tango device
This relates to how a developer can connect a new tango device to webjive.
First step setup the local developer environment
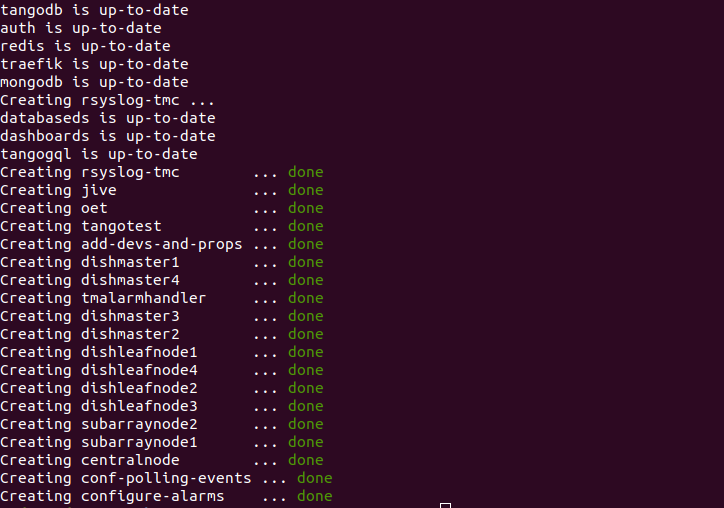
In order to have WebJive and a minimal Tango system working on your local environment you should follow the guidelines on Usage. After the make up command you should see something like this on the command line:
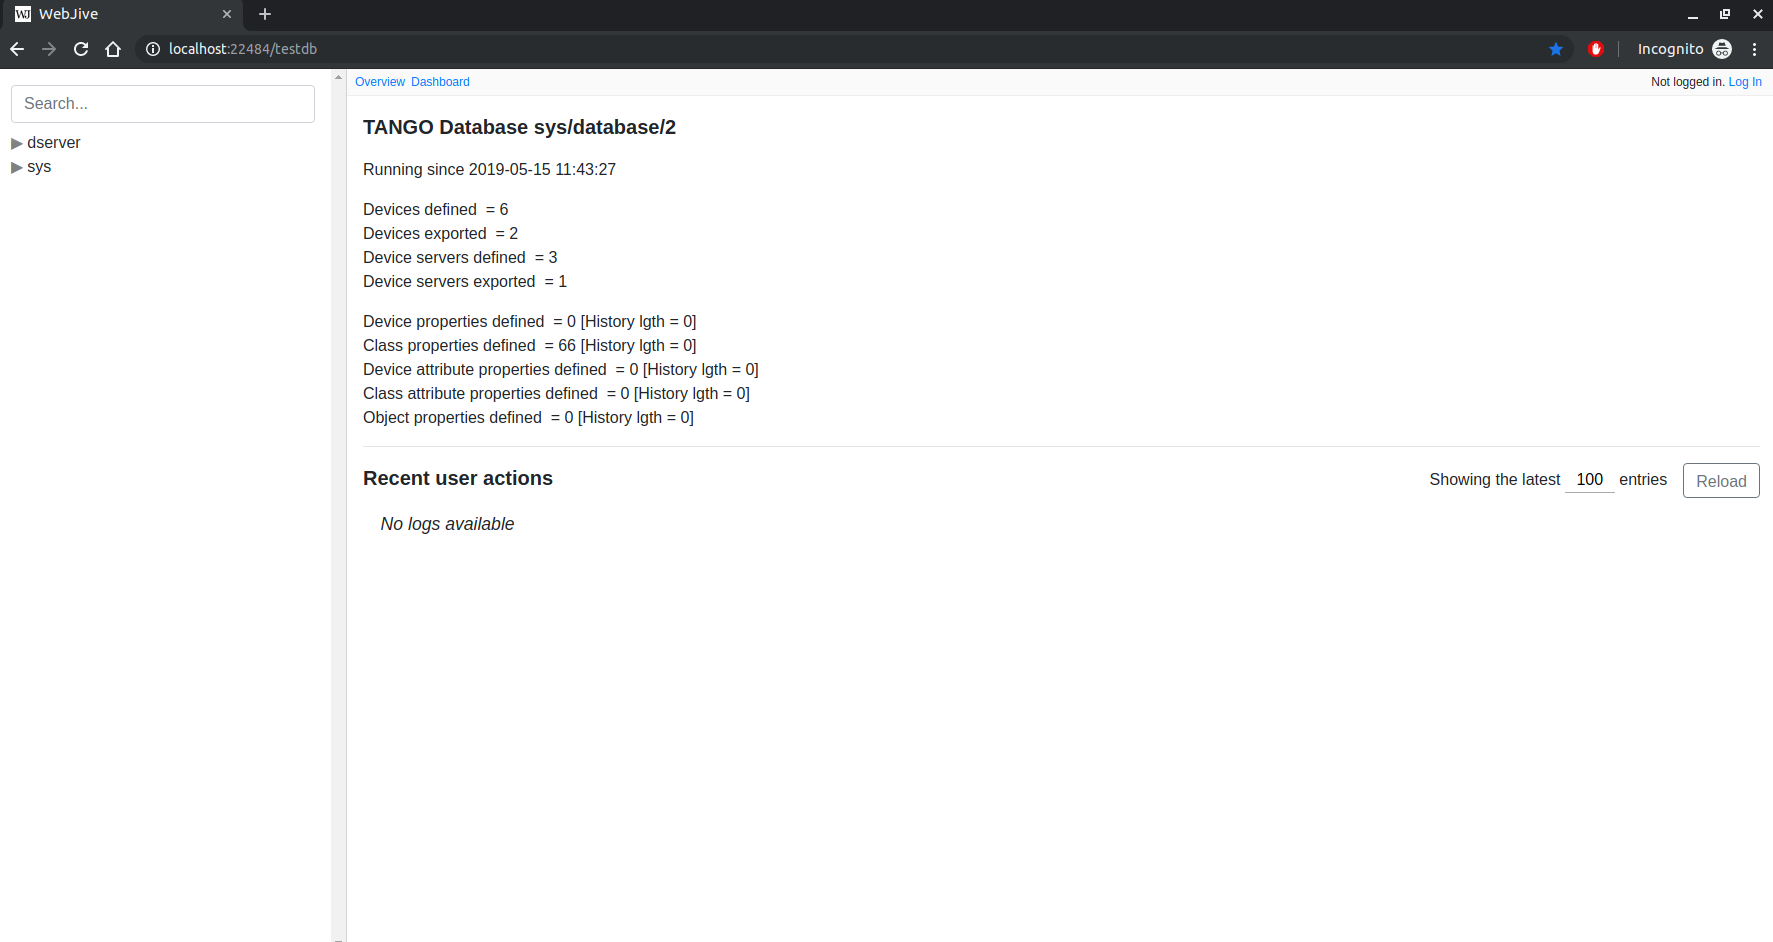
To verify that everything is running well after those steps just go to Webjive and you should see something like this:
Create a new device to add on webjive
To create a new device on your local environment, just follow the documentation on tango-example. Alternately to test you can just use the already built docker image on nexus.engageska-portugal.pt/tango-example/powersupply:latest
Setup tango device connection to webjive
The connection between webjive and a tango device or server is done by the var TANGO_HOST for more info about this go to tango-controls
To see how to setup the connection between tango-example and webjive just follow tango-example.yml
This tango-example.yml file is already in this project, to start up tango-example just do
make start tango-example
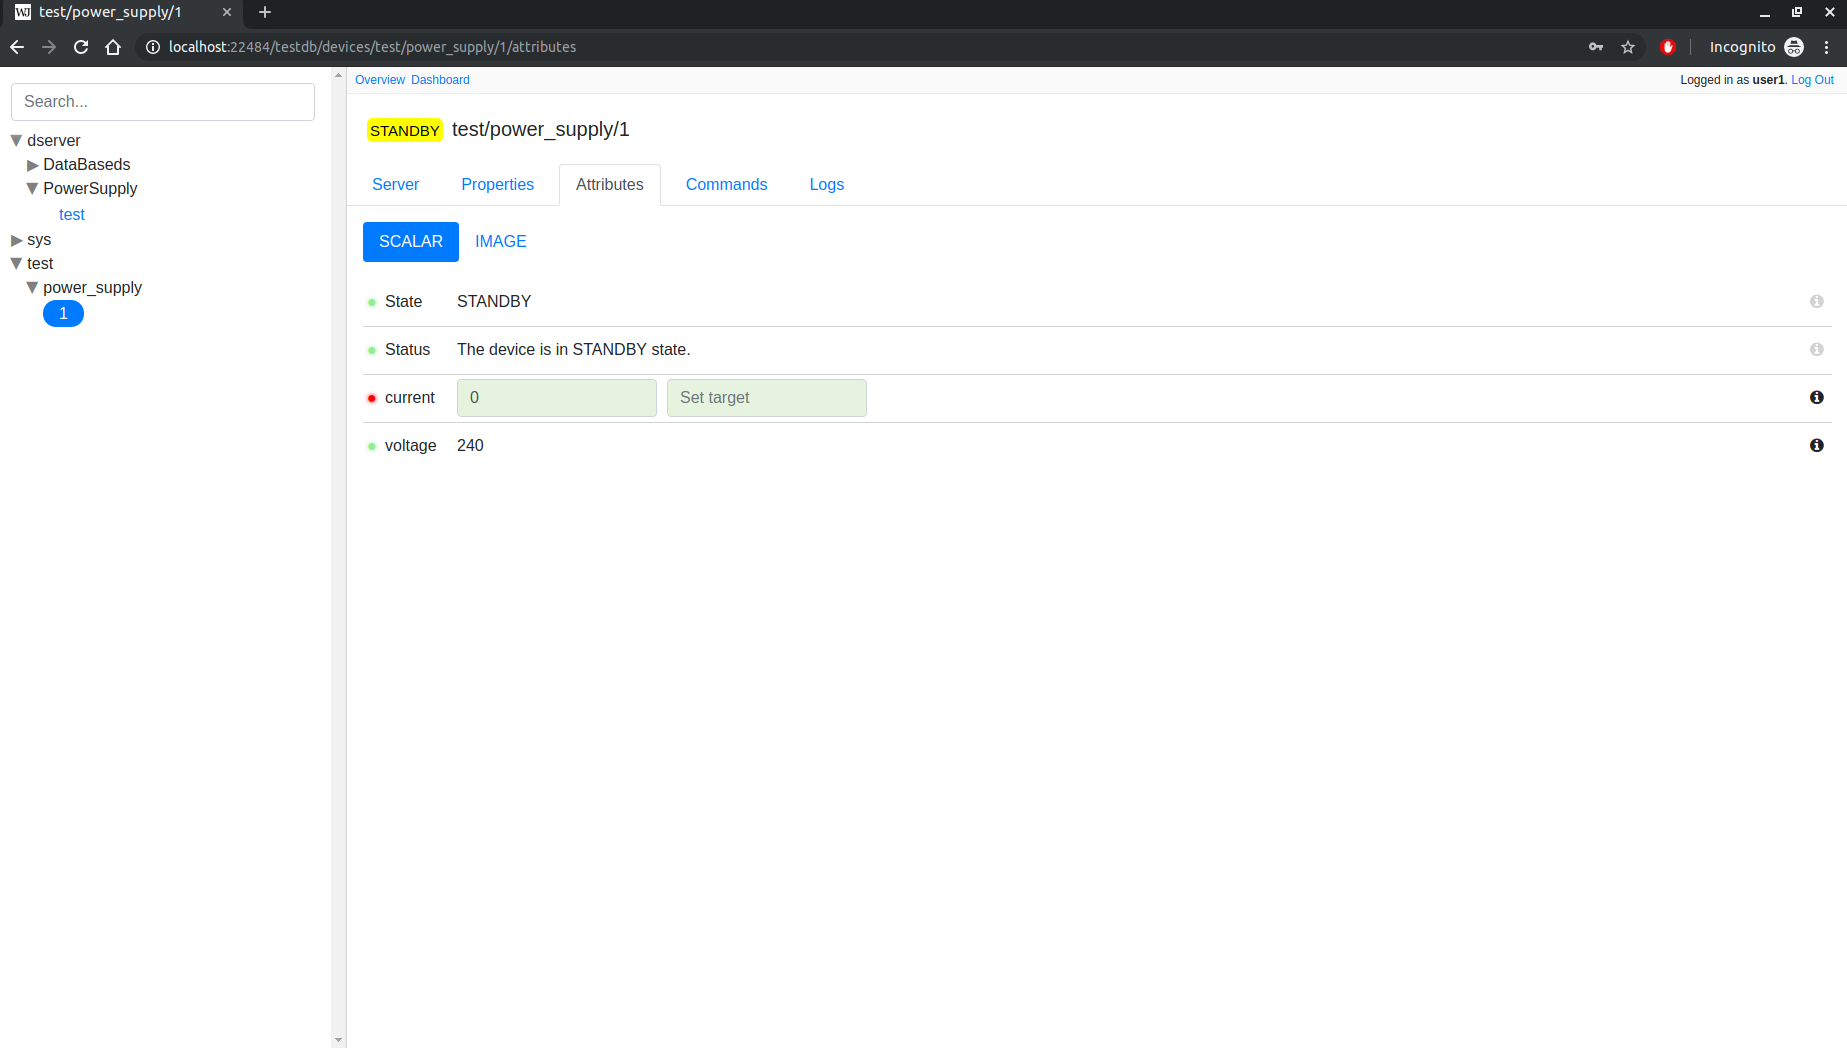
By the end of the command if you go to http://localhost:22484/testdb you should see the following:
Debug the created tango device
In order to be able to debug the device you just created you can for example run the following code [1]:
TANGO_HOST=databaseds:10000 NETWORK_MODE=tangonet MYSQL_HOST=tangodb:3306 CONTAINER_NAME_PREFIX= COMPOSE_IGNORE_ORPHANS=true docker-compose -f tango-example.yml up
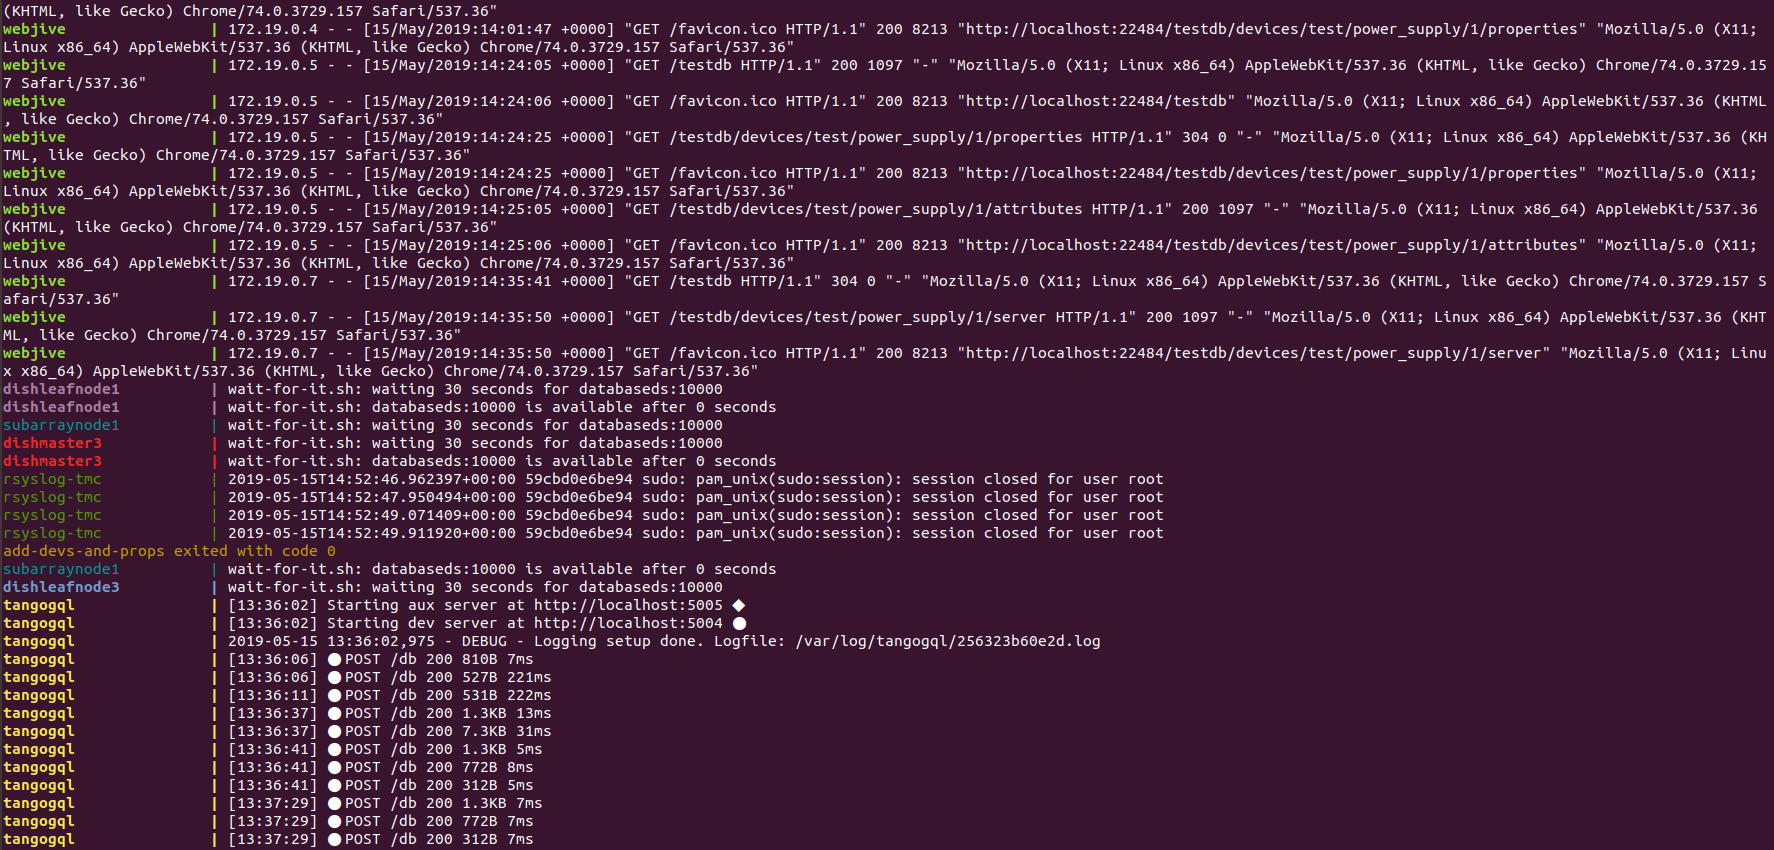
Then you should see this on the command line:

This is the output of tango-example device (powersupply), this will vary from different devices
In order to debug all the devices and webjive-suite itself you can just run [2]:
make debug
You should see something like this on the command line:
This will update with the runtime debug, you can just refresh the webjive page to see the output